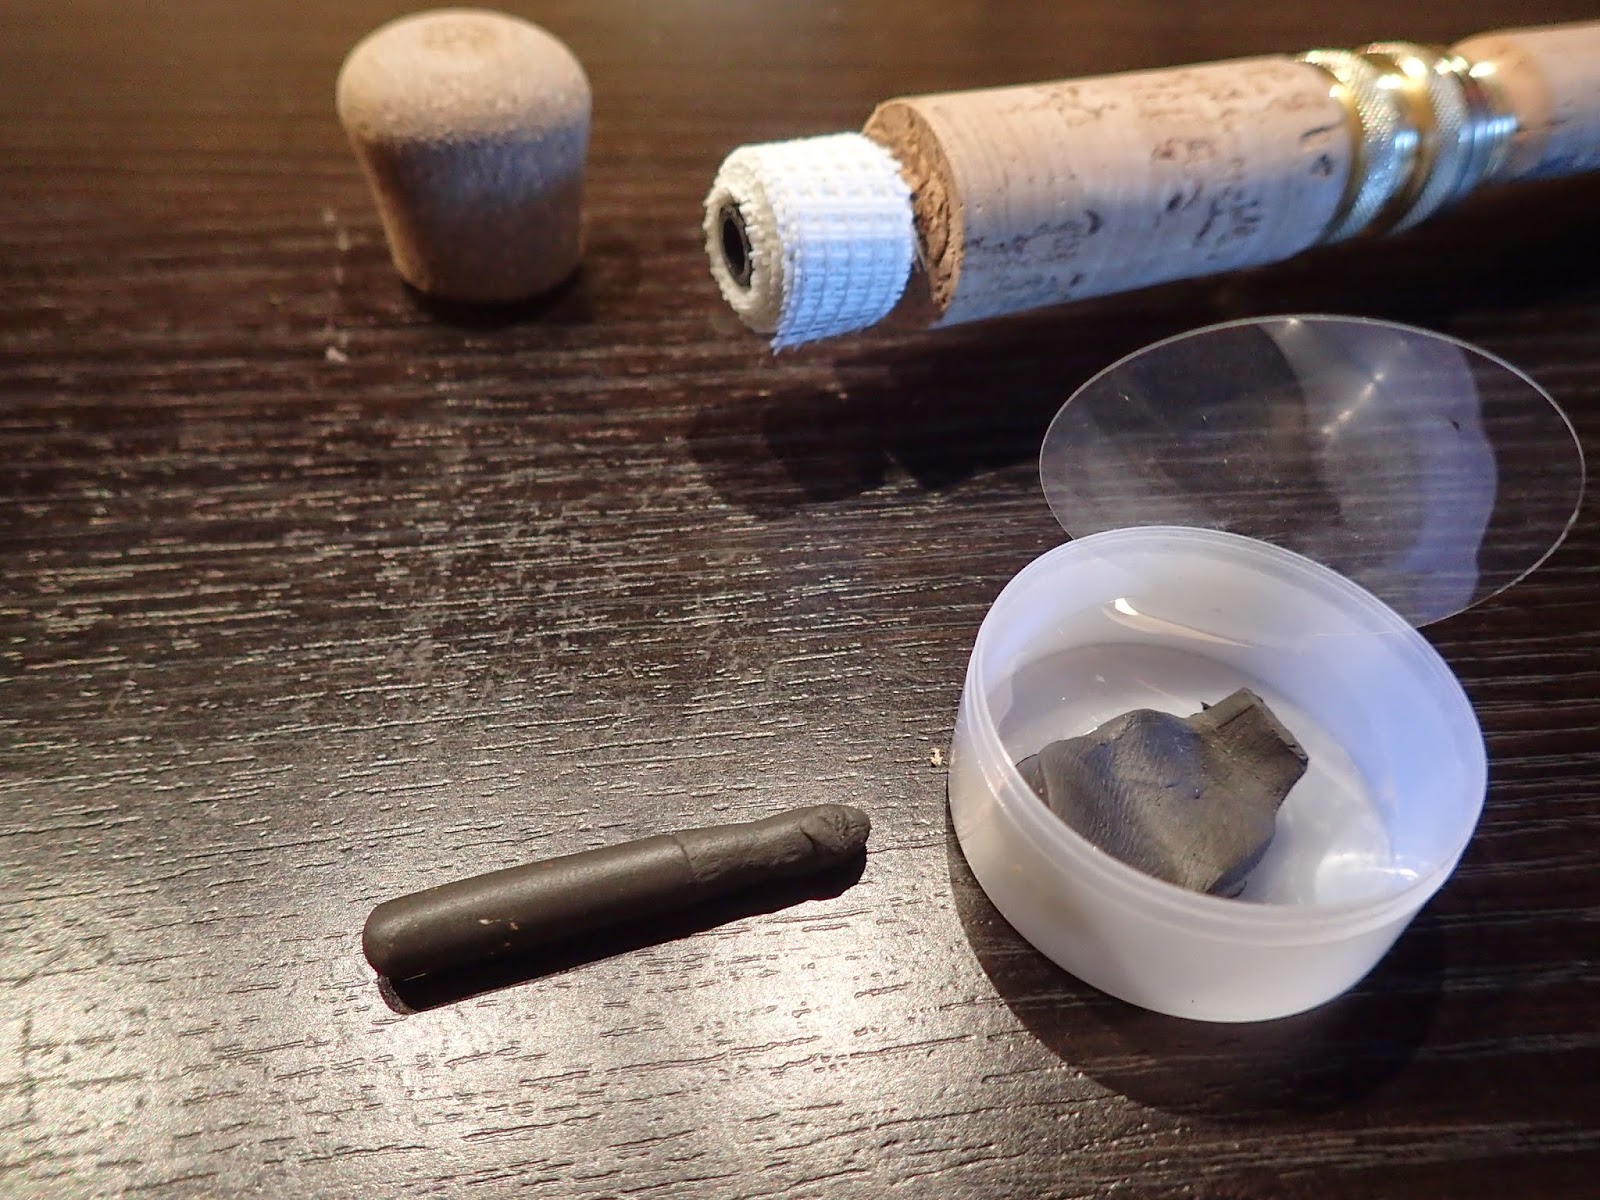
I got some useful feedback on the kayak fishing rod butt mod on ncangler.com and also, while it seemed sturdy enough, I wasn't happy with the lack of an arbor or the 5-minute epoxy I used. So I cut off the oversize butt (which was too big to fit in tube-type rod holders) and re-did it using better materials. One comment I got was "what about rod balance?". The ergonomics when casting from a seated position is much better and I didn't notice much, if any, difference in rod balance, but since I was re-doing it I decided to experiment with adding a counter weight. I built up an arbor for the new butt using drywall tape, which is made of fiberglass cloth backed with an adhesive. The open weave of the cloth allows glue to penetrate for a strong bond. For the adhesive I used U-40 Rod Bond, which is very tough but retains some flexibility. For the counter weight I rolled out a piece of weighted putty sold for use on pine box derby cars and slipped it inside the rod blank. The butt cap is from Jann's Netcraft.
This worked out fine but I wanted to see if I could go further with the counter weight idea so I picked up a roll of lead tape which is sold to fine tune balance on golf clubs and used it to build up an arbor on another rod I was modding.
The added weight at the butt end gave the rod better balance in the hand- it has a lighter tip feel now. A nice improvement.
Evan Blewett's fishing journal mostly covering rivers of the North Carolina Piedmont.
Tuesday, October 7, 2014
Monday, September 29, 2014
Kayak Fishing Rod Butt Mod
I'm a big fan of the Bass Pro Shops Micro Lite rods. Although listed as fast they are more of a moderate action. It's easy to feel the rod loading for accurate casts even when fatigued or when the adrenalin is flowing casting to visible fish. The forgiving action also helps with landing bass on 4lb line without breaking off. A great value for around $50. On my last river float fishing trip I mainly used the 7' Light action model which worked great except for the ridiculously long 8" butt section which forced me to hold my arm at an awkward distance. The problem was compounded by a new fishing PFD with somewhat bulky front pockets. By the end of the day my shoulder and arm were feeling the strain. Longer rods with shorter butt sections are ideal for kayak fishing but this combination is difficult to find in an off-the-shelf rod. Since the Micro Lite is an affordable rod to experiment with I decided to do something about it...
I grabbed the rod and a set of calipers, went out to my shop, and dug out a box of long-neglected rod building parts. The rod grip was almost exactly one inch and I was lucky to find a stash of fighting butts with the same diameter.

I used an Exacto saw to cut through the cork down to the rod blank, then cut off the butt and used a pocket knife to remove the excess cork. Even with it's ultra fine teeth, the saw did a rougher job than I would have liked:
I wanted a cleaner look so I tried again using a single-edge razor blade with a zip tie as a cutting guide.
I grabbed the rod and a set of calipers, went out to my shop, and dug out a box of long-neglected rod building parts. The rod grip was almost exactly one inch and I was lucky to find a stash of fighting butts with the same diameter.

I used an Exacto saw to cut through the cork down to the rod blank, then cut off the butt and used a pocket knife to remove the excess cork. Even with it's ultra fine teeth, the saw did a rougher job than I would have liked:
I wanted a cleaner look so I tried again using a single-edge razor blade with a zip tie as a cutting guide.
This came out much better. Time to put it back together. I am omitting a step that would be important on a heavier rod where stress would be placed on the butt when fighting fish. Rod supply houses sell rolls of narrow 3/16" masking tape. Besides taping on guides, it is used to build up an arbor that matches the inside diameter of butt while allowing a gap for epoxy. One of these arbors would be built up at each end. I'm skipping that step because I don't have the tape on hand and it's a light-acton rod so hopefully it will hold up OK. Here I'm about to mix 5 minute epoxy on a Post-It note (it won't soak through) and apply it. I don't want squeeze out so I will keep it away from the outer edge. Then align the parts and hold it together with force for- wait for it.......5 minutes :) Actually I held it for at least that long and then tested the residue on the Post-It to know when it had set. The epoxy will still feel a bit tacky- that's OK.
Finished up with a bit of sanding:
This is the end result. Looks pretty decent. You can see that the quality of the cork is better on the butt than the rod grip. The new ring will probably darken up and match better with some sun exposure.
Subscribe to:
Posts (Atom)


